
One of the best things about our line of work is we get to experiment with different mediums. When we first started Milestone Decal Art in 2008, we were almost exclusively working with ceramic and porcelain. Soon we started playing with glass and we have not looked back ever since. What we love most about glass is the fluidity and transformation that happens in the kiln. Waiting for the kiln to cool down after we've done a glass firing is always a very exciting time...
Follow our three part series: Suspended in Amber to learn some interesting new glass fusing decal techniques.
A while back we took a class at our local Bullseye Glass Resource Center here in New York where we used some amber colored glass. Of course we couldn't help but think about our insect decals and how *awesome* they would look suspended in that beautiful amber. So we shared our idea with the wonderful staff at Bullseye and they in turn shared some glass to help us see where we could go with our "big idea". One of our favorite things about Bullseye Glass is their commitment to supporting artists to explore the possibilities of glass as a medium. Using decals with hot glass is an emerging form and we have enjoyed a very supportive relationship with the great people at Bullseye. You can also buy our decals in their online shop as well as their Resource Centers.
For the Suspended in Amber project we tested 9 different combinations. Because we will be going into great detail for each of these 9 combinations, we will be reporting on our results in a three part series.
So without much further ado, let's get down to the nitty gritty.

For this project you will need two equally sized pieces of glass.
The technique
For this technique we used insect decals in Black, Gold, Platinum and Copper.
For glass we used combinations of Bullseye 3mm Medium Amber, Clear Transparent, French Vanilla, and Opaque White.
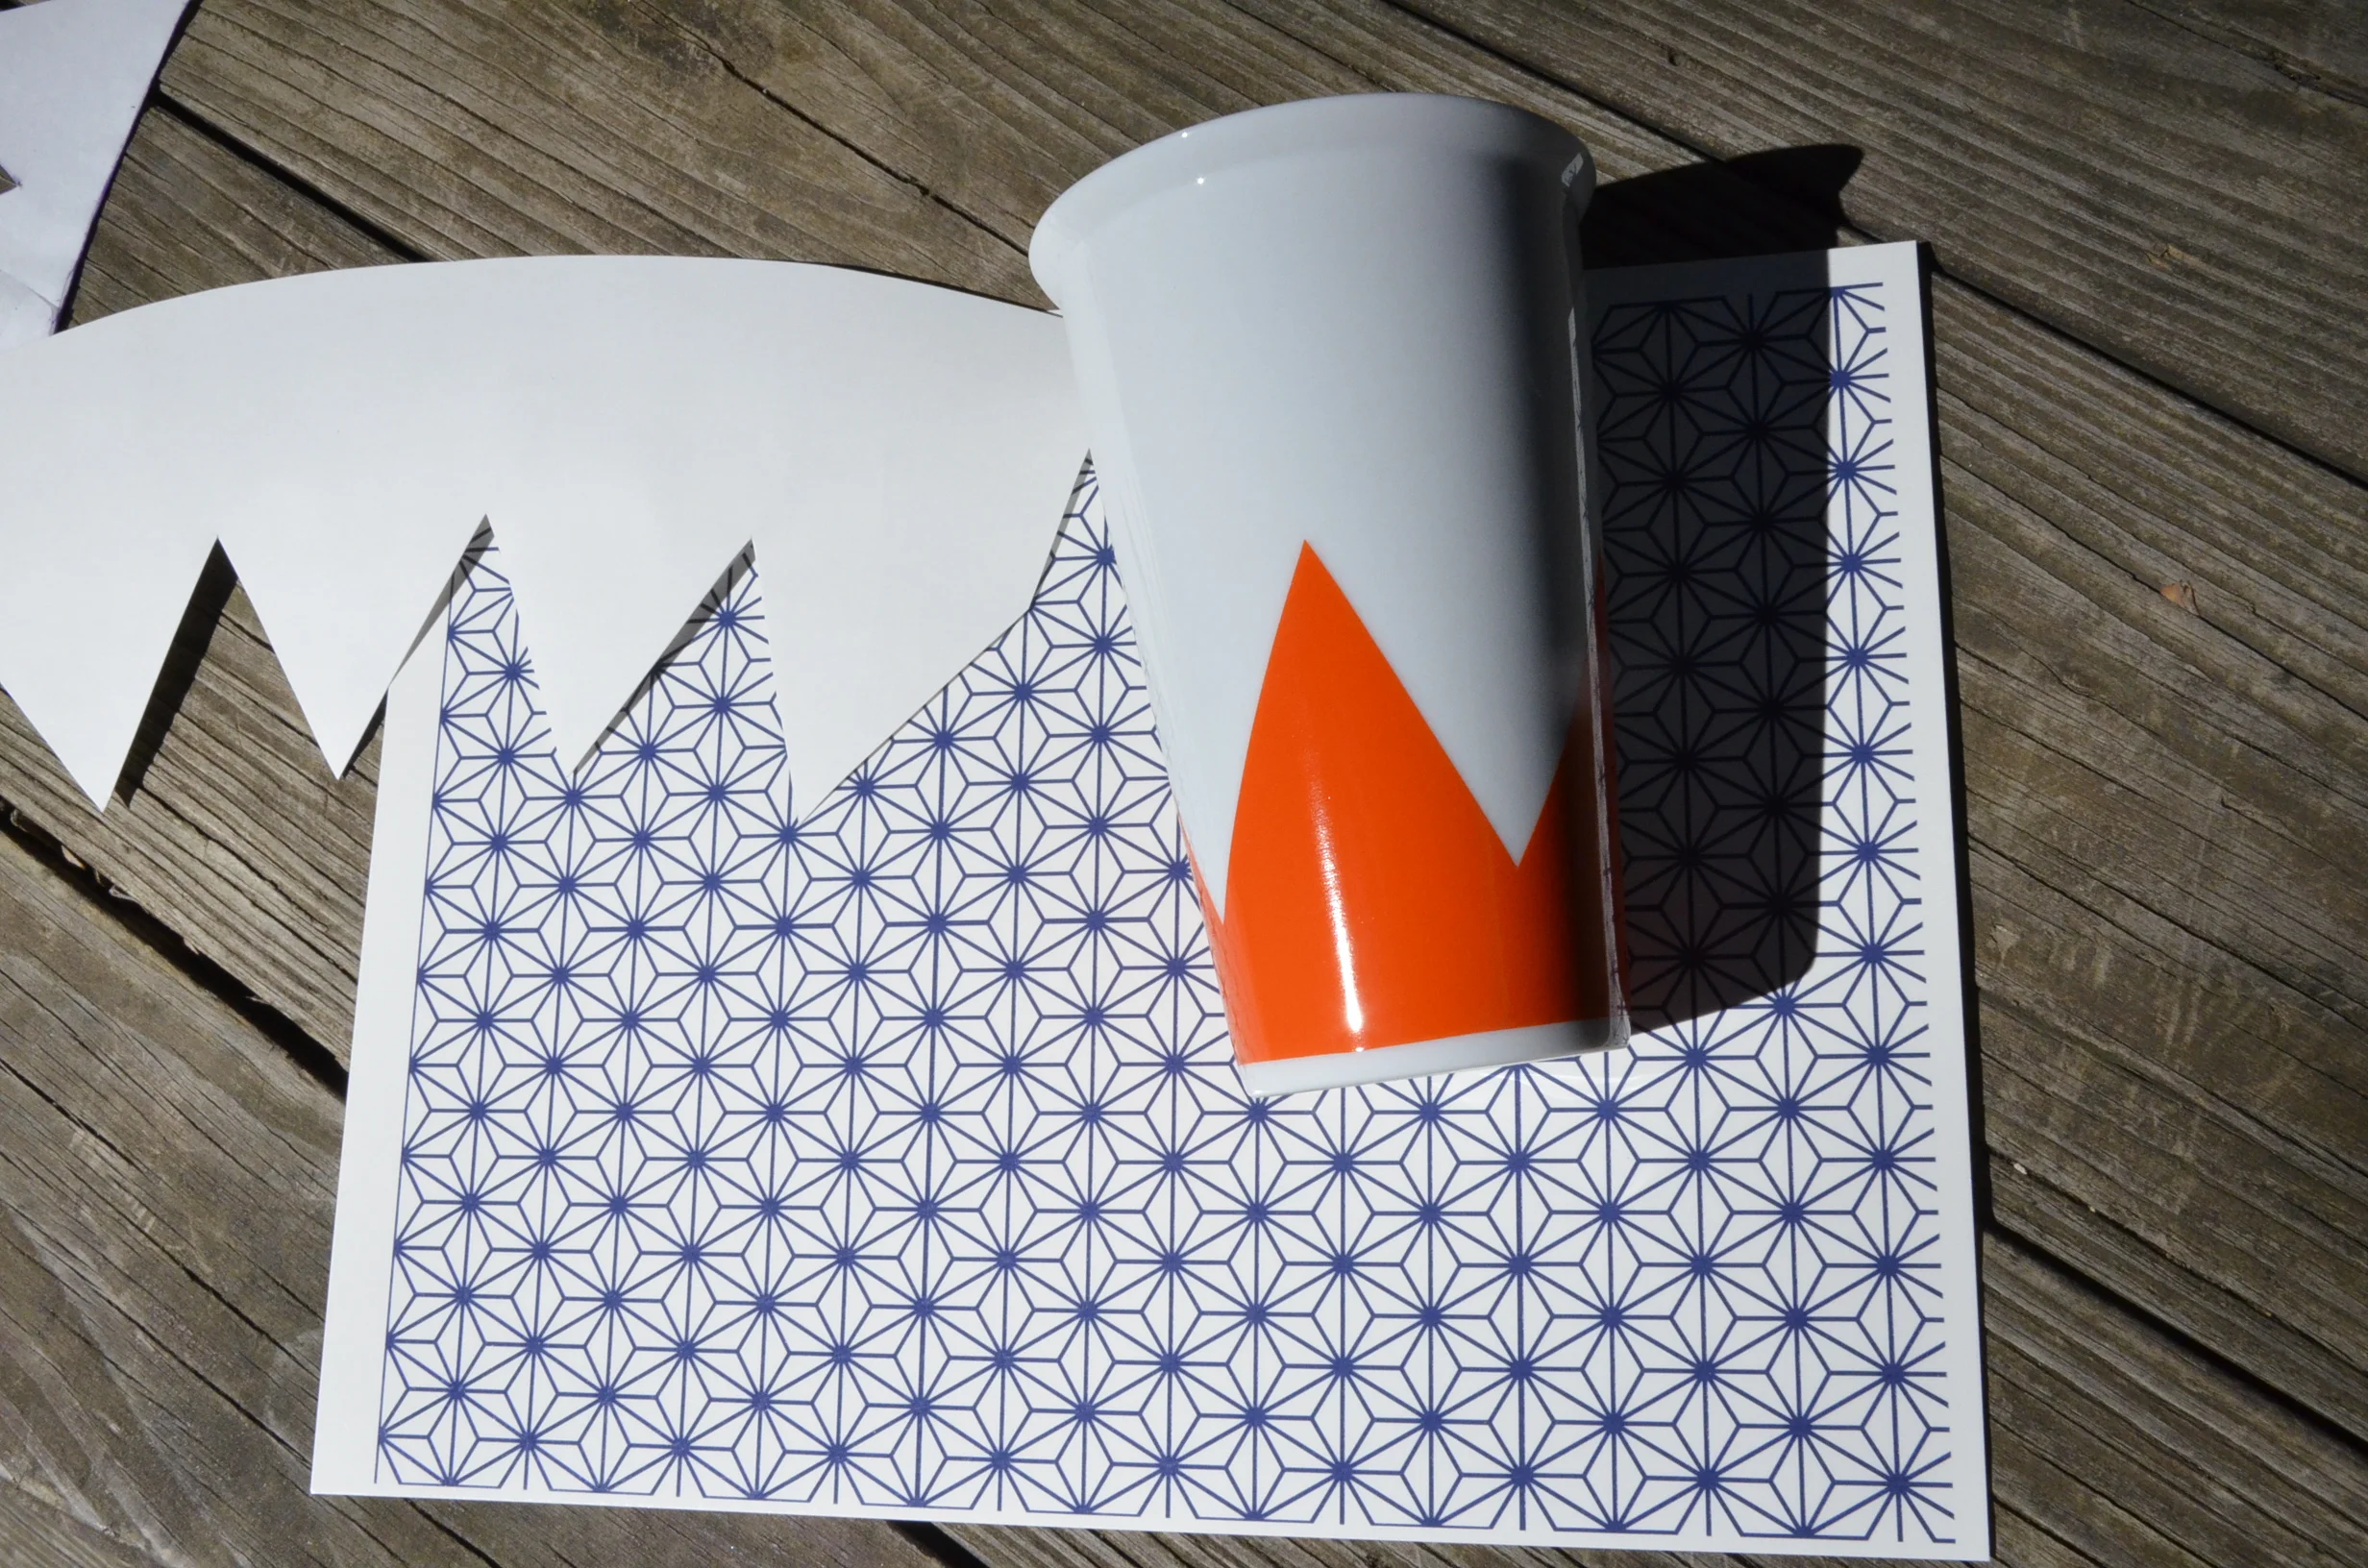
The tools we used were a Toyo cutter, a straightedge, running pliers, and the ever useful sharpie maker.
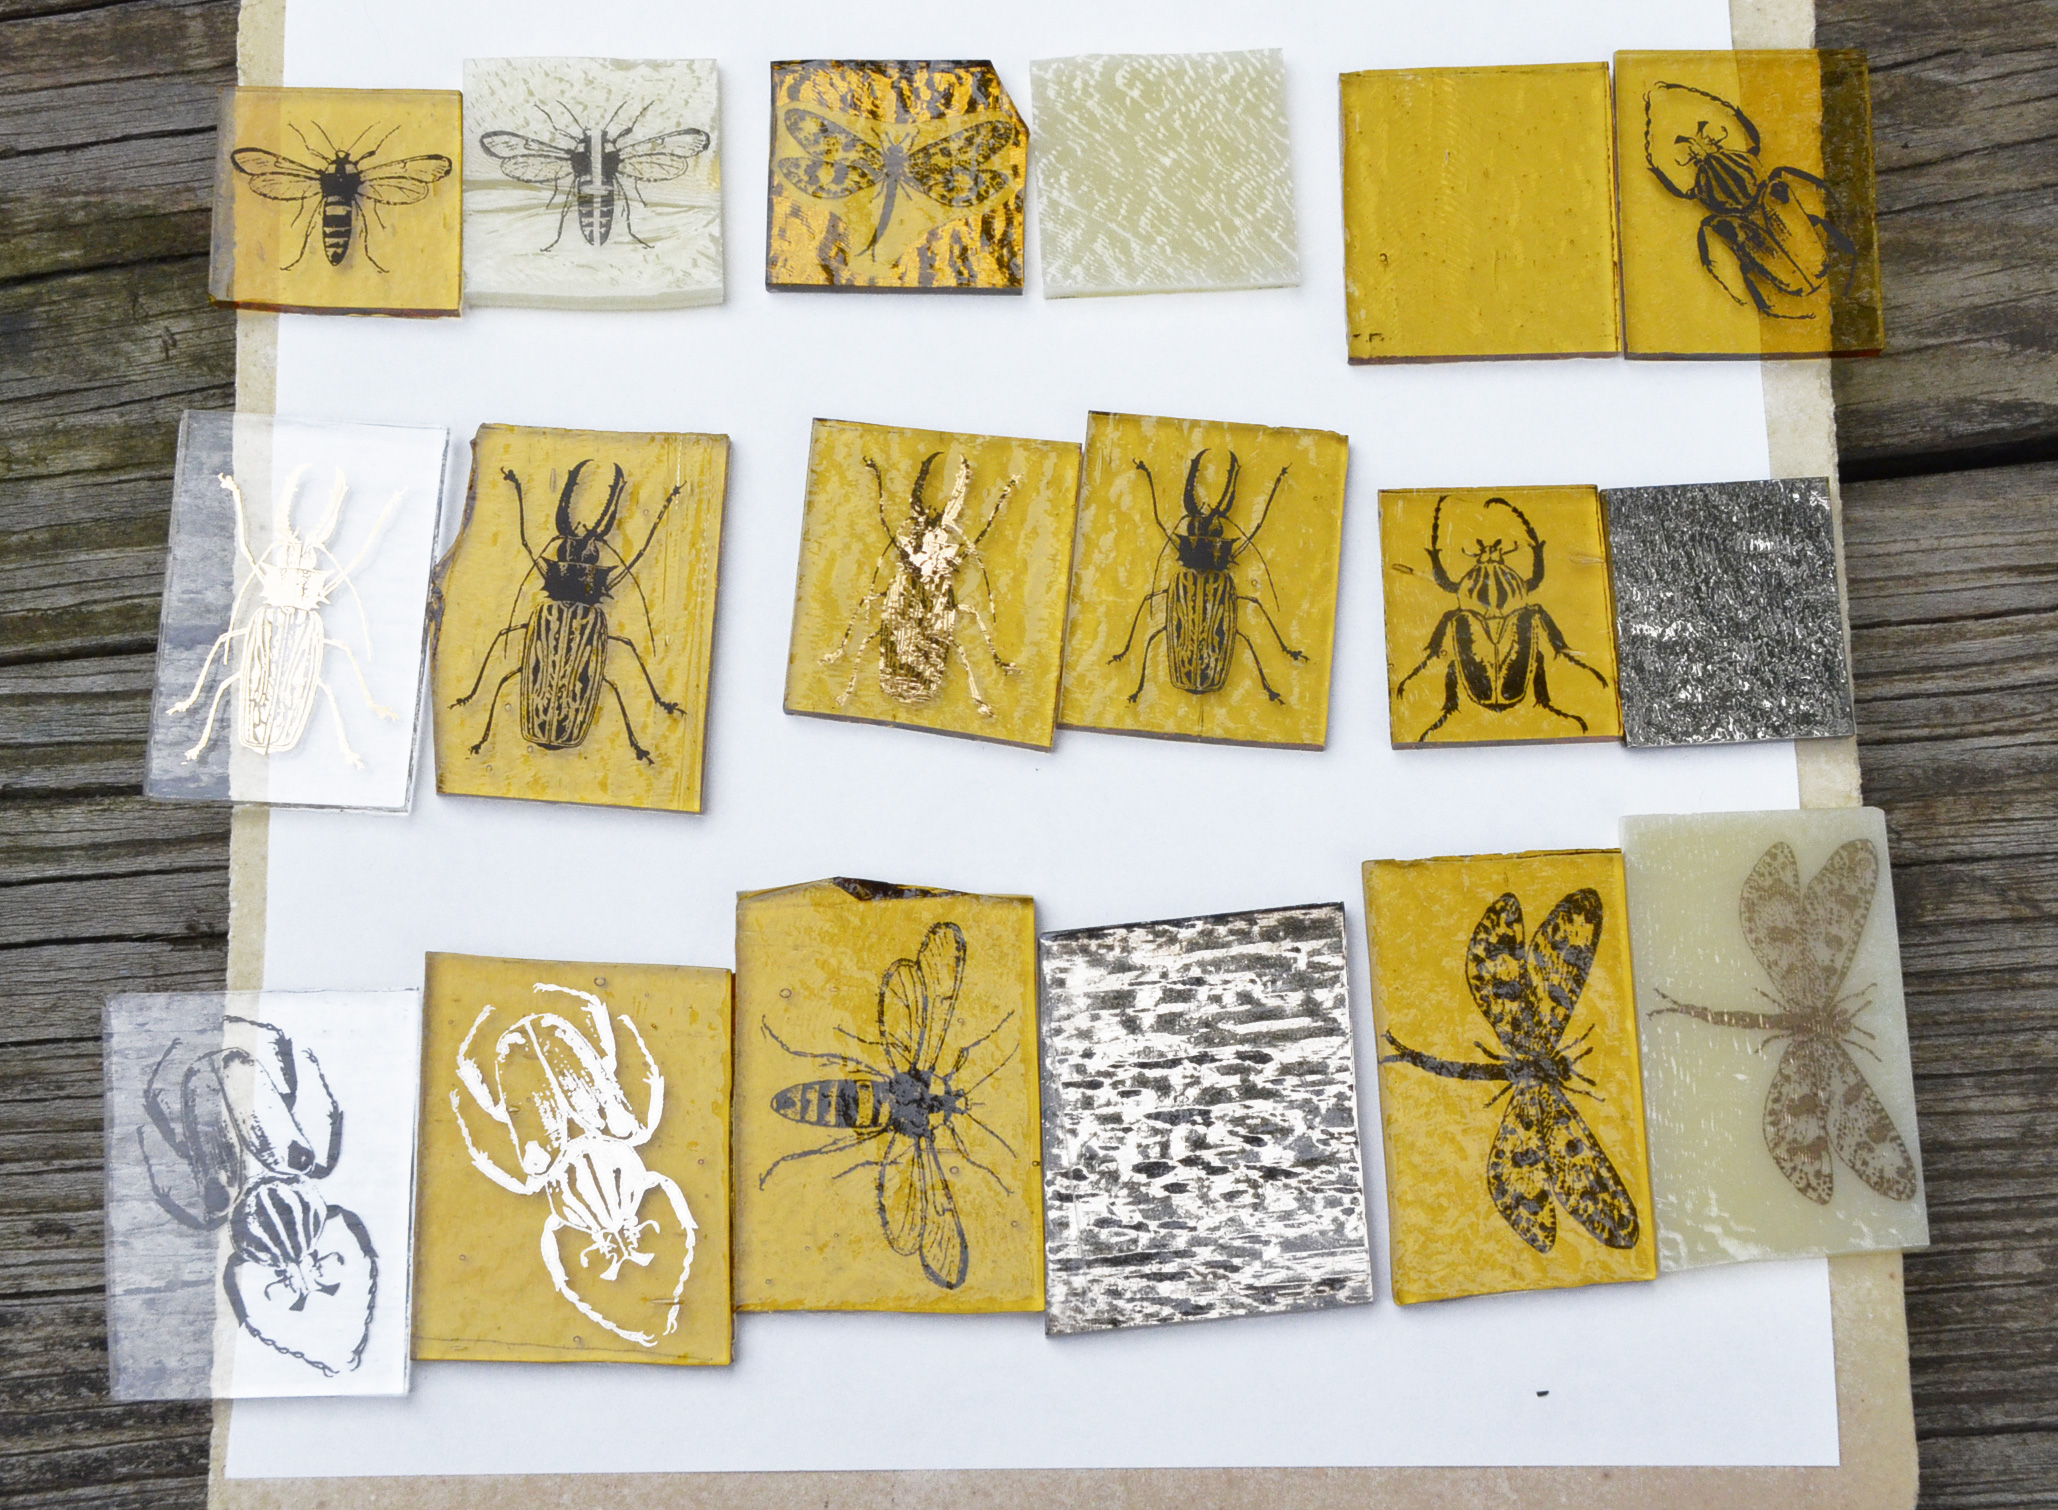
For this project we layered 9 different pairs of glass rectangles. The leftmost piece of glass in each pair was fired on top. The rightmost piece of glass in each pair was fired on the bottom. Make sure to read all three parts of this three part series to see our results.

DECAL PRE-FIRING SCHEDULE. This is the firing schedule we use to fuse the decal without melting or slumping the glass. You can also use this schedule to fire a decal on a piece that you have already fully fused or slumped.
Step 1. Measure and cut your glass to fit the decal.
Step 2. Apply your decal. You can find our application instructions here.
Step 3. Fuse your decal to your 3mm glass piece using our decal pre-firing schedule for glass.
Step 4. You will now add a second layer of glass for the final fuse firing. At this step you have several options depending on what look you would like to achieve - sandwiching a decal between two pieces of glass; having a decal on the top most layer as well as sandwiched in the middle; or even having a decal on the underside of the lower glass layer are all possible options. Play with it and have fun!

DECAL FINAL FUSE FIRING SCHEDULE. This is the schedule we use for final fusing.
Step 5. Use Glasstac between your glass layers to ensure that your glass doesn't shift during firing.
Step 6. Fire your glass according to the final fuse schedule.

Et VOILA! The results of our final fuse firing. Please visit parts 2 and 3 of this post to learn about the specifics of each individual piece. Let us know what you think in the comments area of this post!